Adding categories and tags
You can easily add categories and tags to Craft, either from a blog post directly or from the admin UI.
Adding categories from a blog post
While editing blog post, you can click the Meta tab and add Categories and Tags there. If you click the + Add Tag or + Add Category button, you'll see a window below that looks like this:
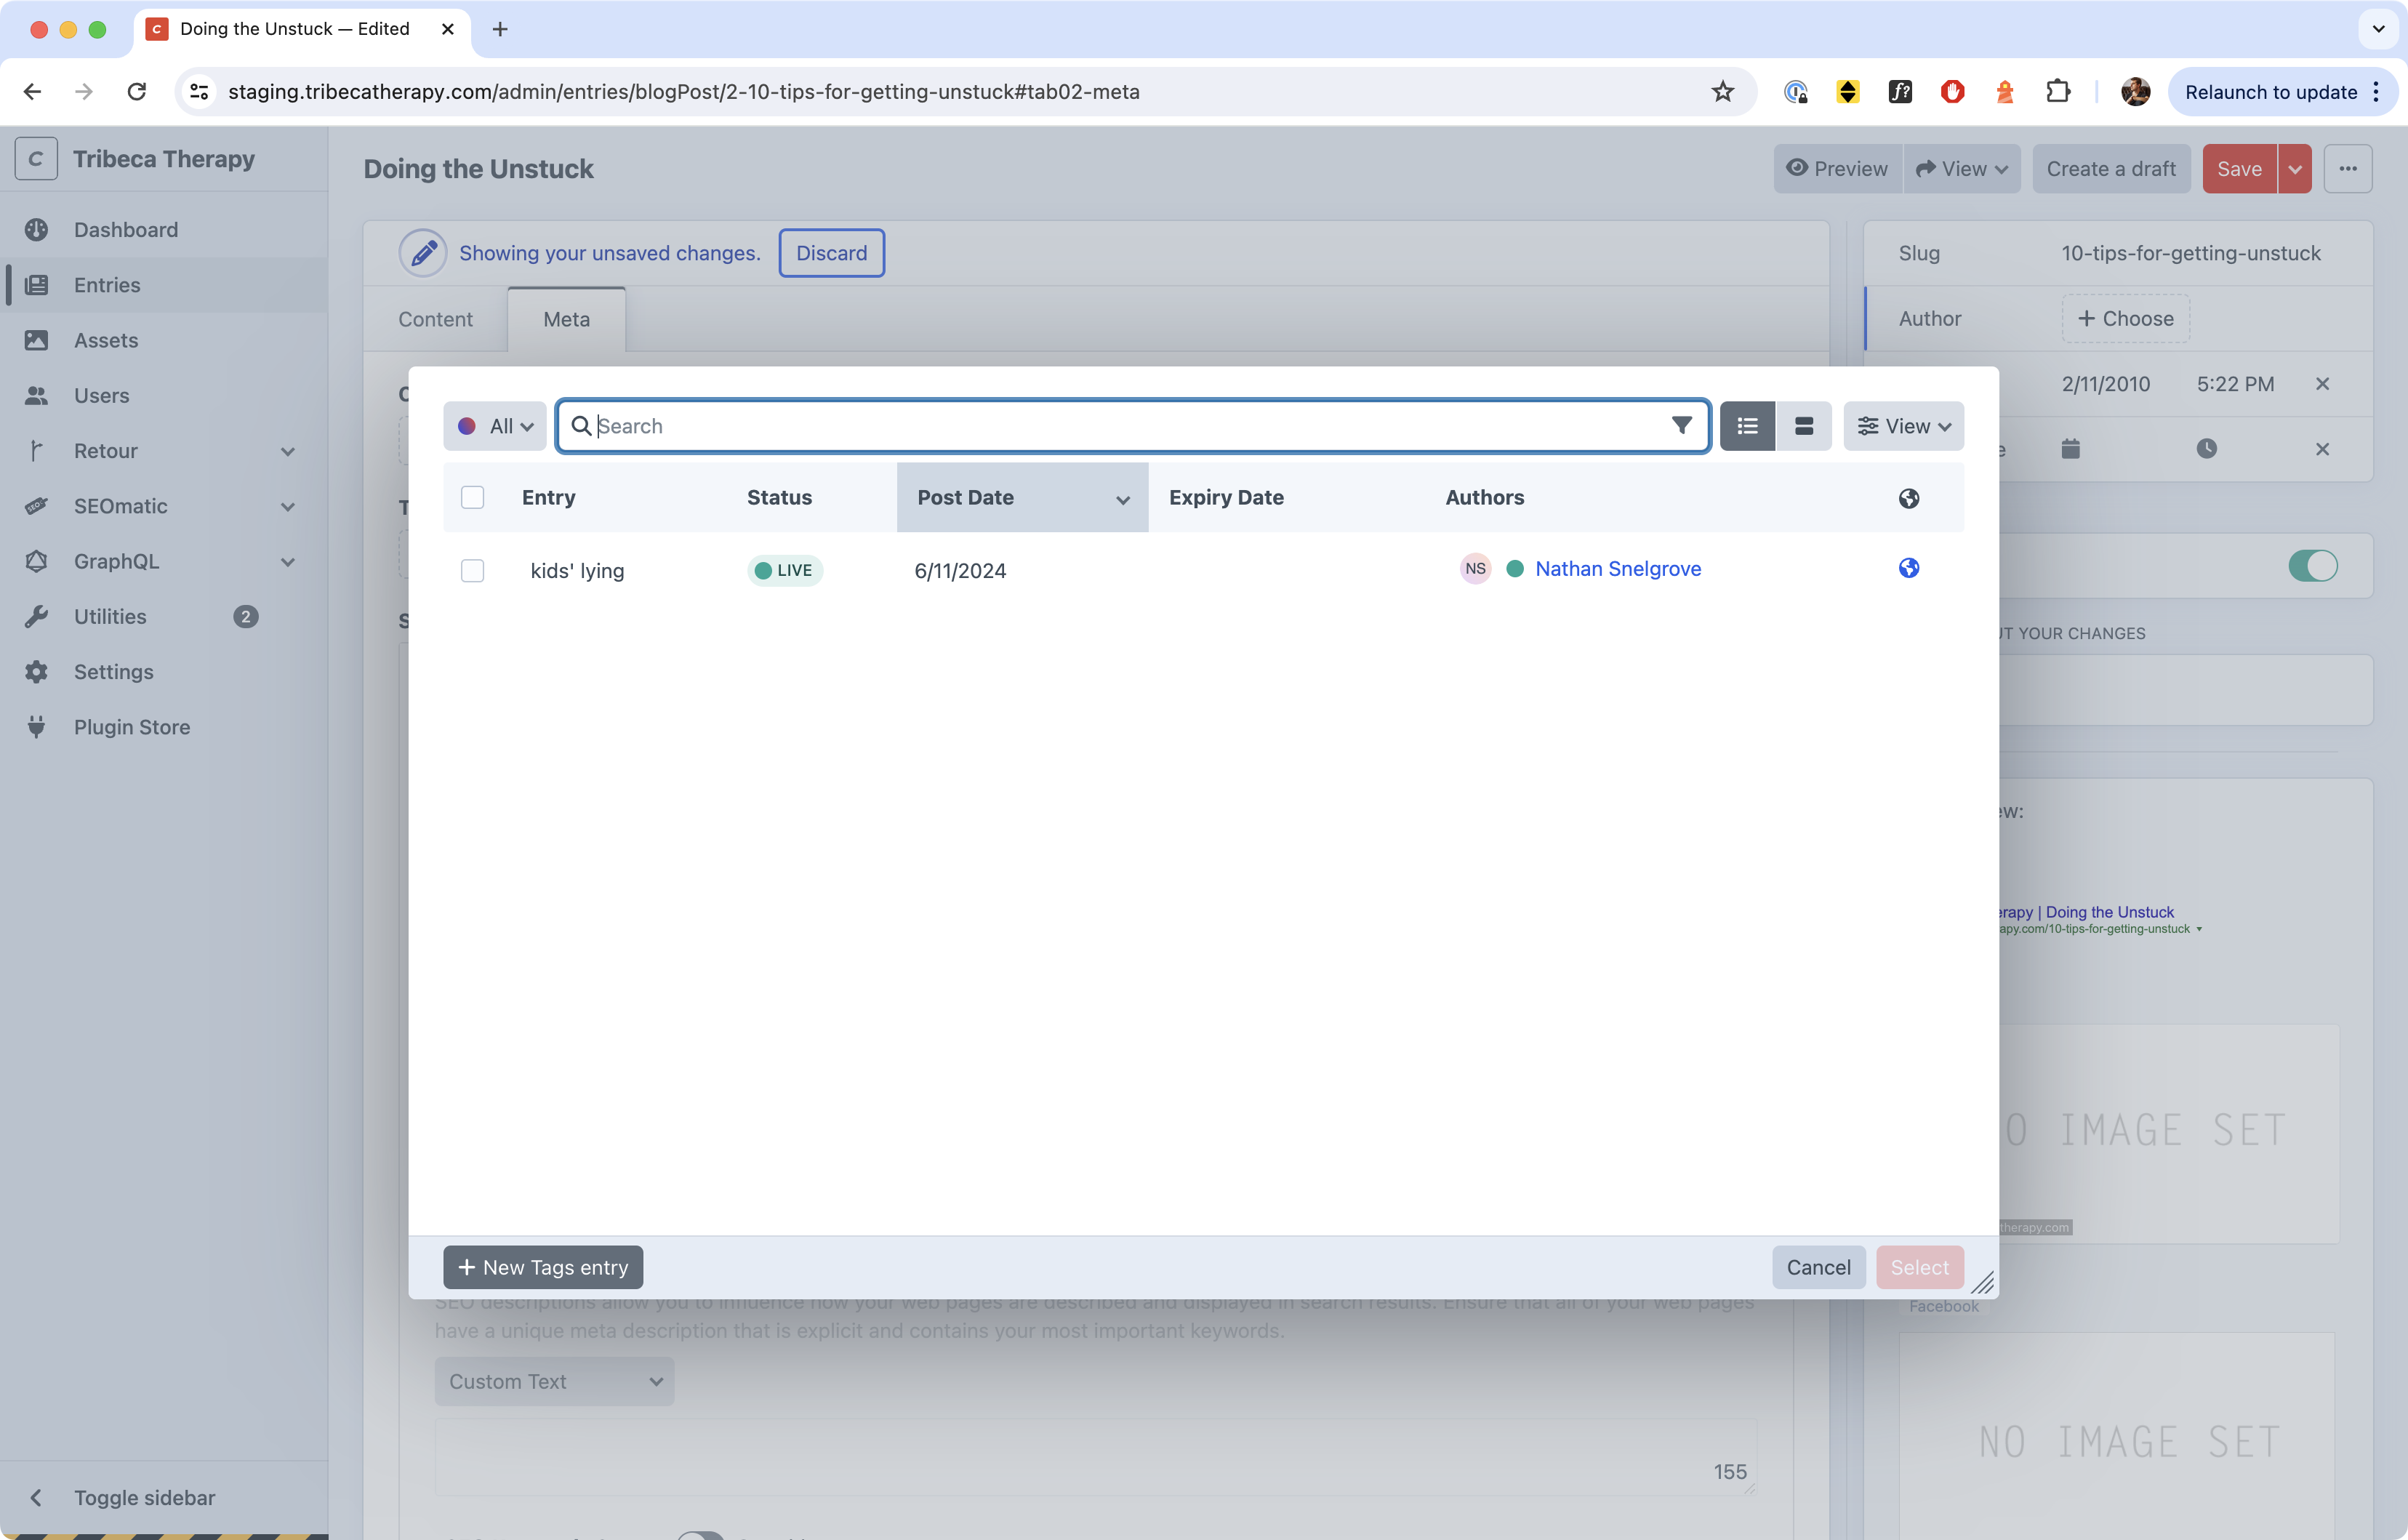
This screen lists all the existing categories and tags in the site. In this image, the only existing tag is kids' lying.
To add another one, click the + New Tags Entry button located on the bottom left of the pop-up.
A new panel will appear on the screen.
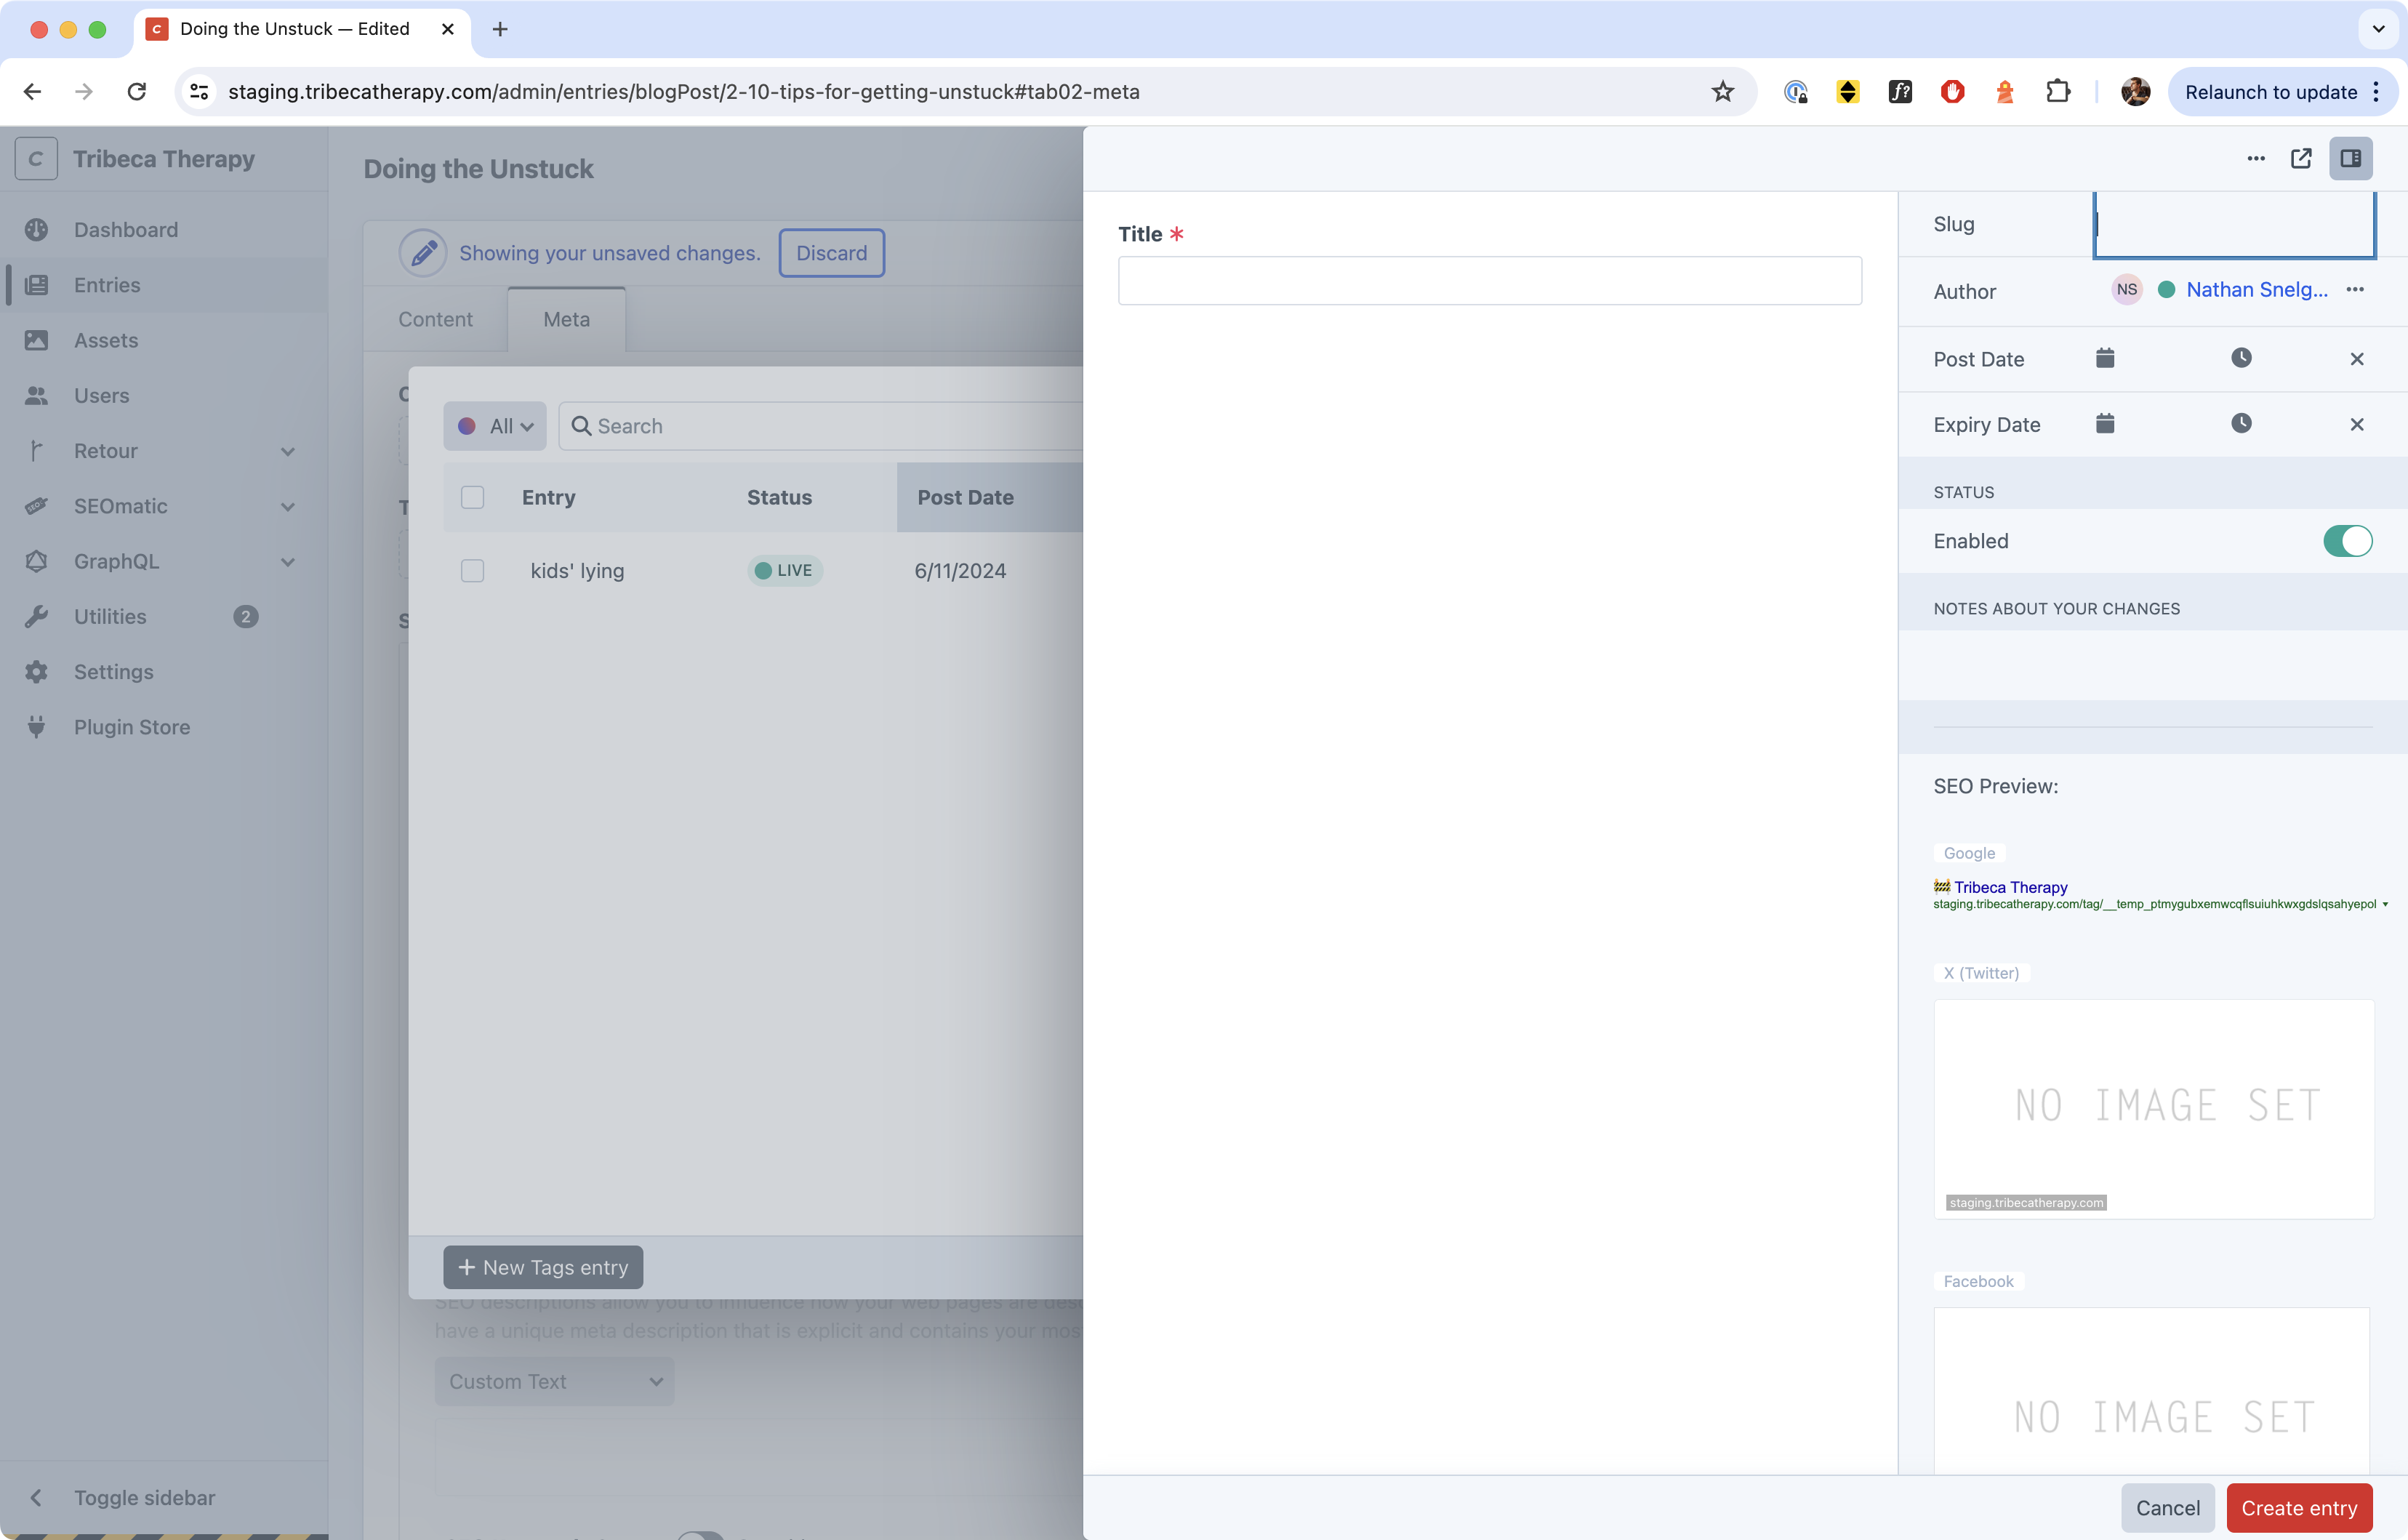
Simply add the title of the tag or category you'd like to create. You can also adjust its slug (its URL) in the pane on the right (highlighted with a blue border in the above screenshot).
Note
If you are migrating content from WordPress, and there is a tag or category on WordPress that is missing, you will also need to make sure the category/tag URLs match. This ensures that the SEO for the site continues to function properly.
Adding categories anywhere else
Categories and Tags can be added elsewhere on the site as well.
If you are not editing a blog post, but want to add a Category or Tag, simply click Entries in Craft's left-hand navigation. Then click on either Tags (under the Channels subheading) or Categories (under the Structures subheading).
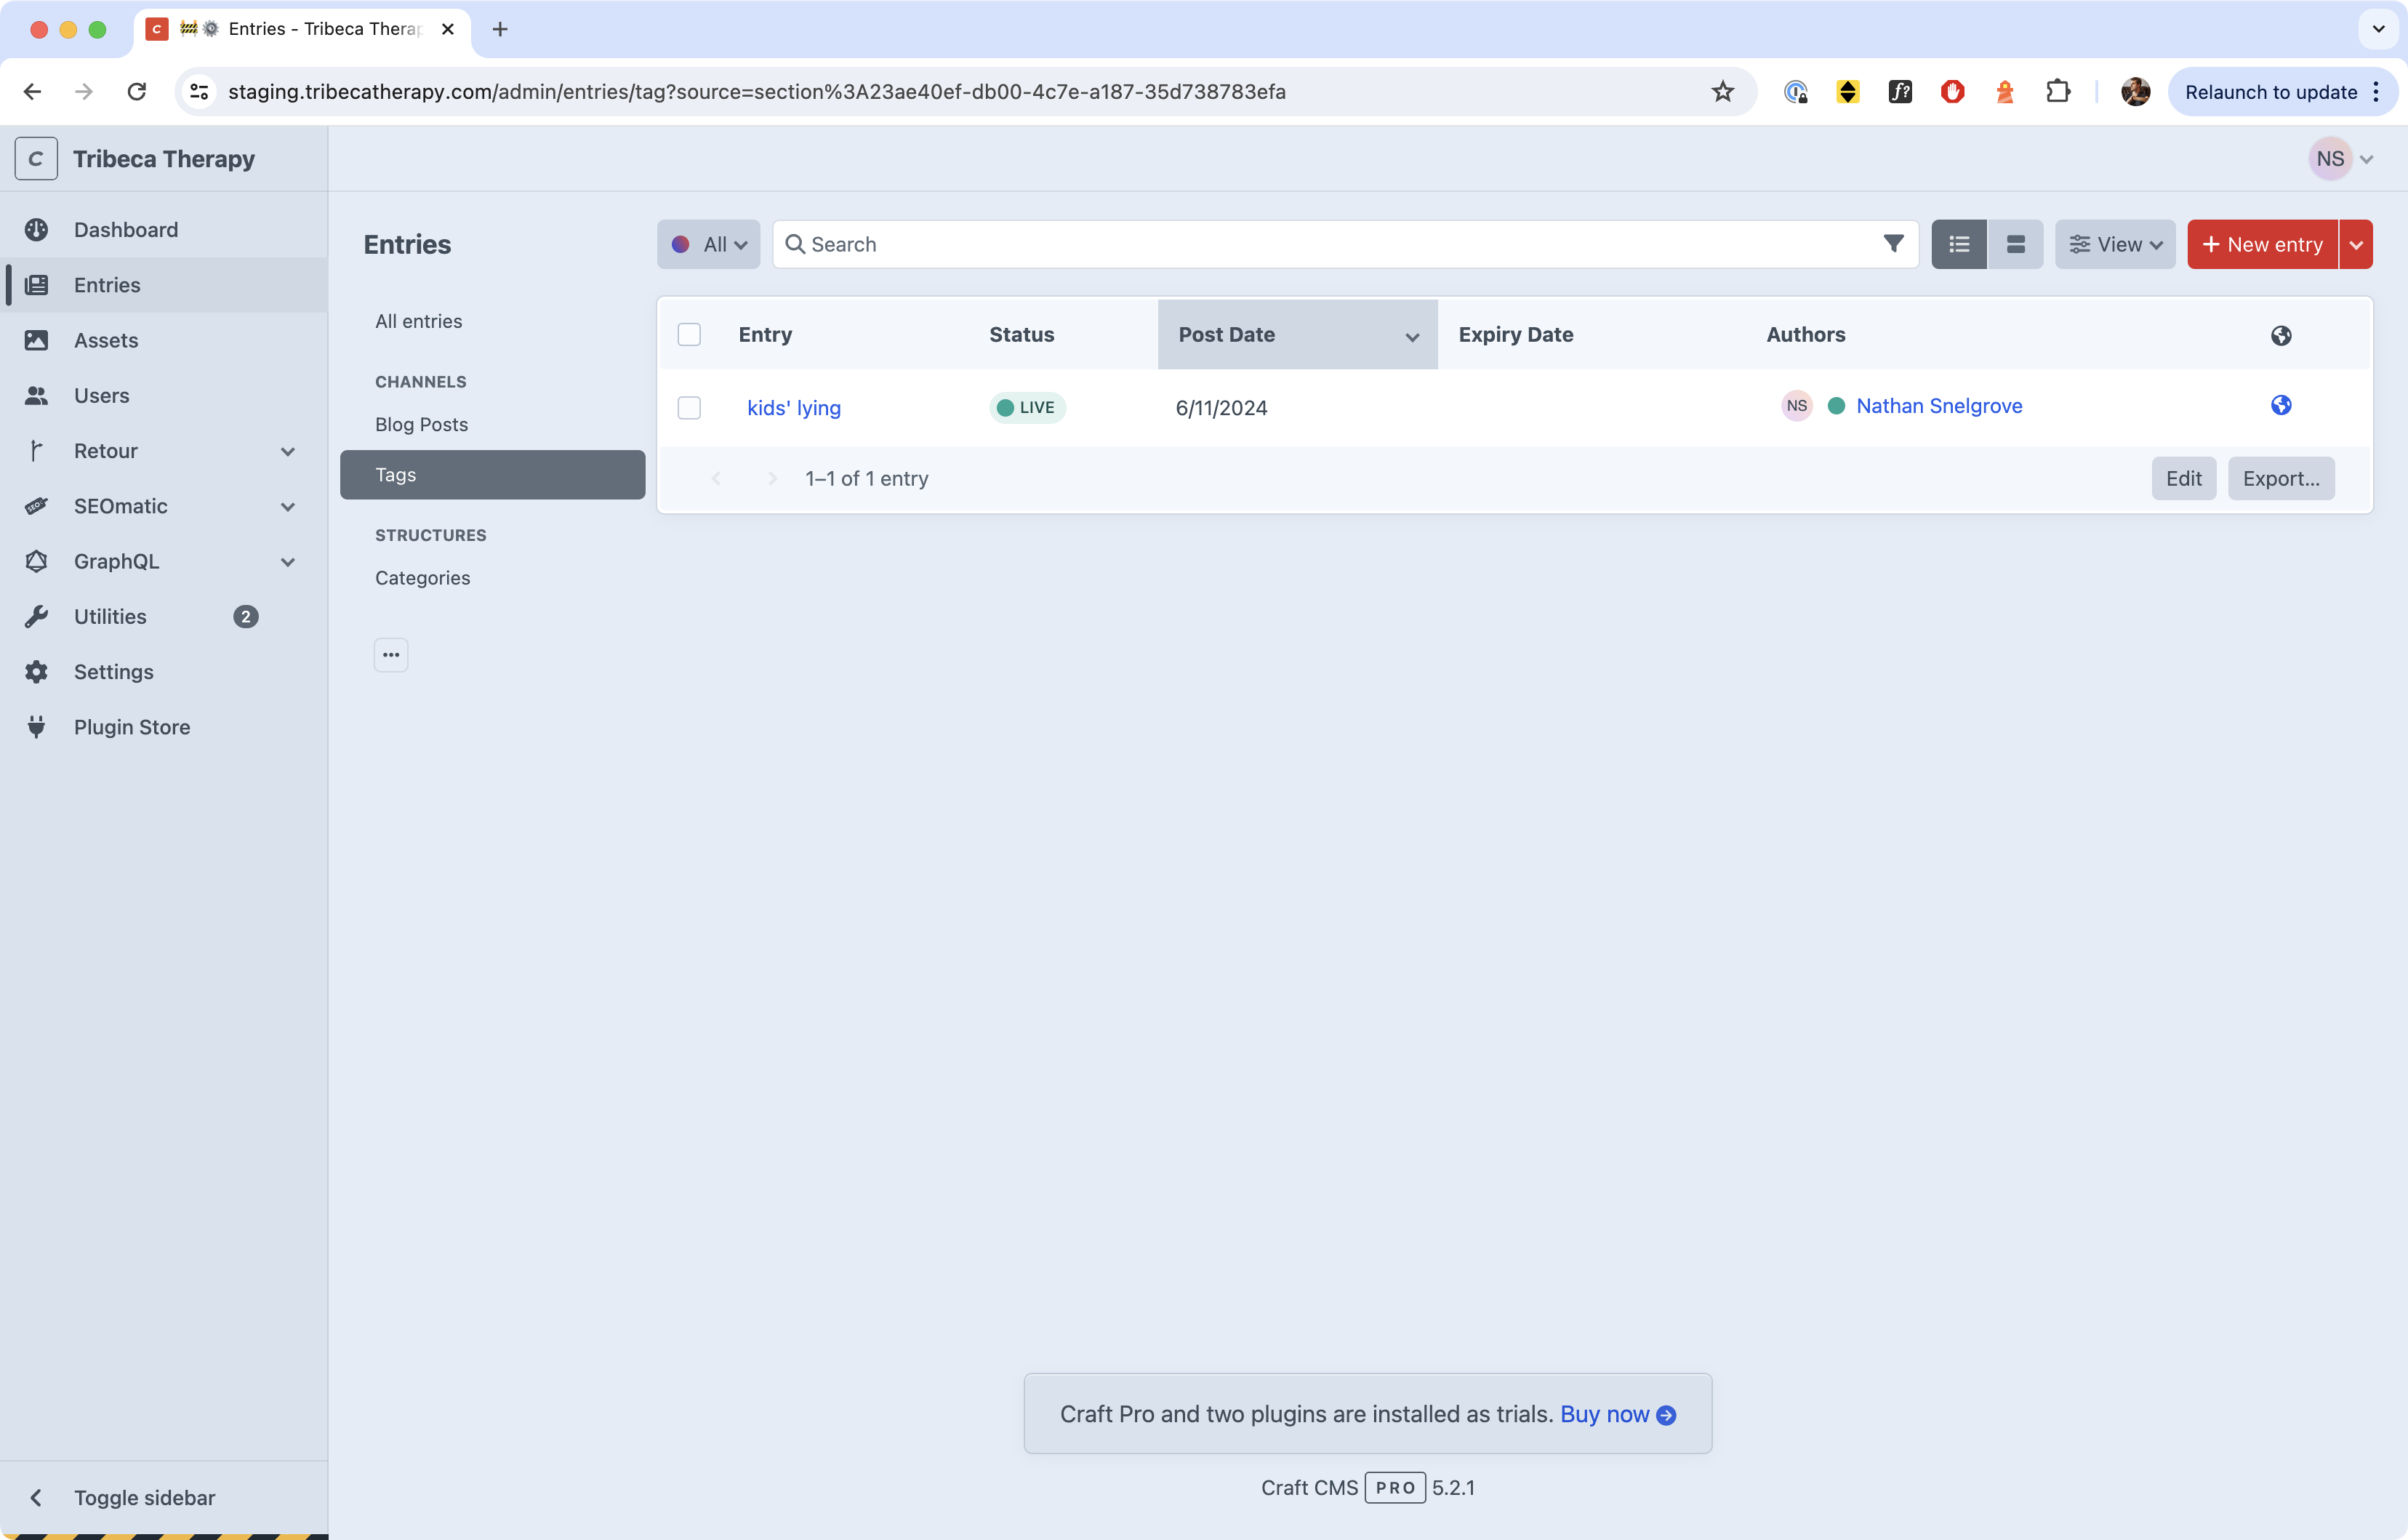
Once there, you can click on the red + New Entry button to add a new category or tag to the list.
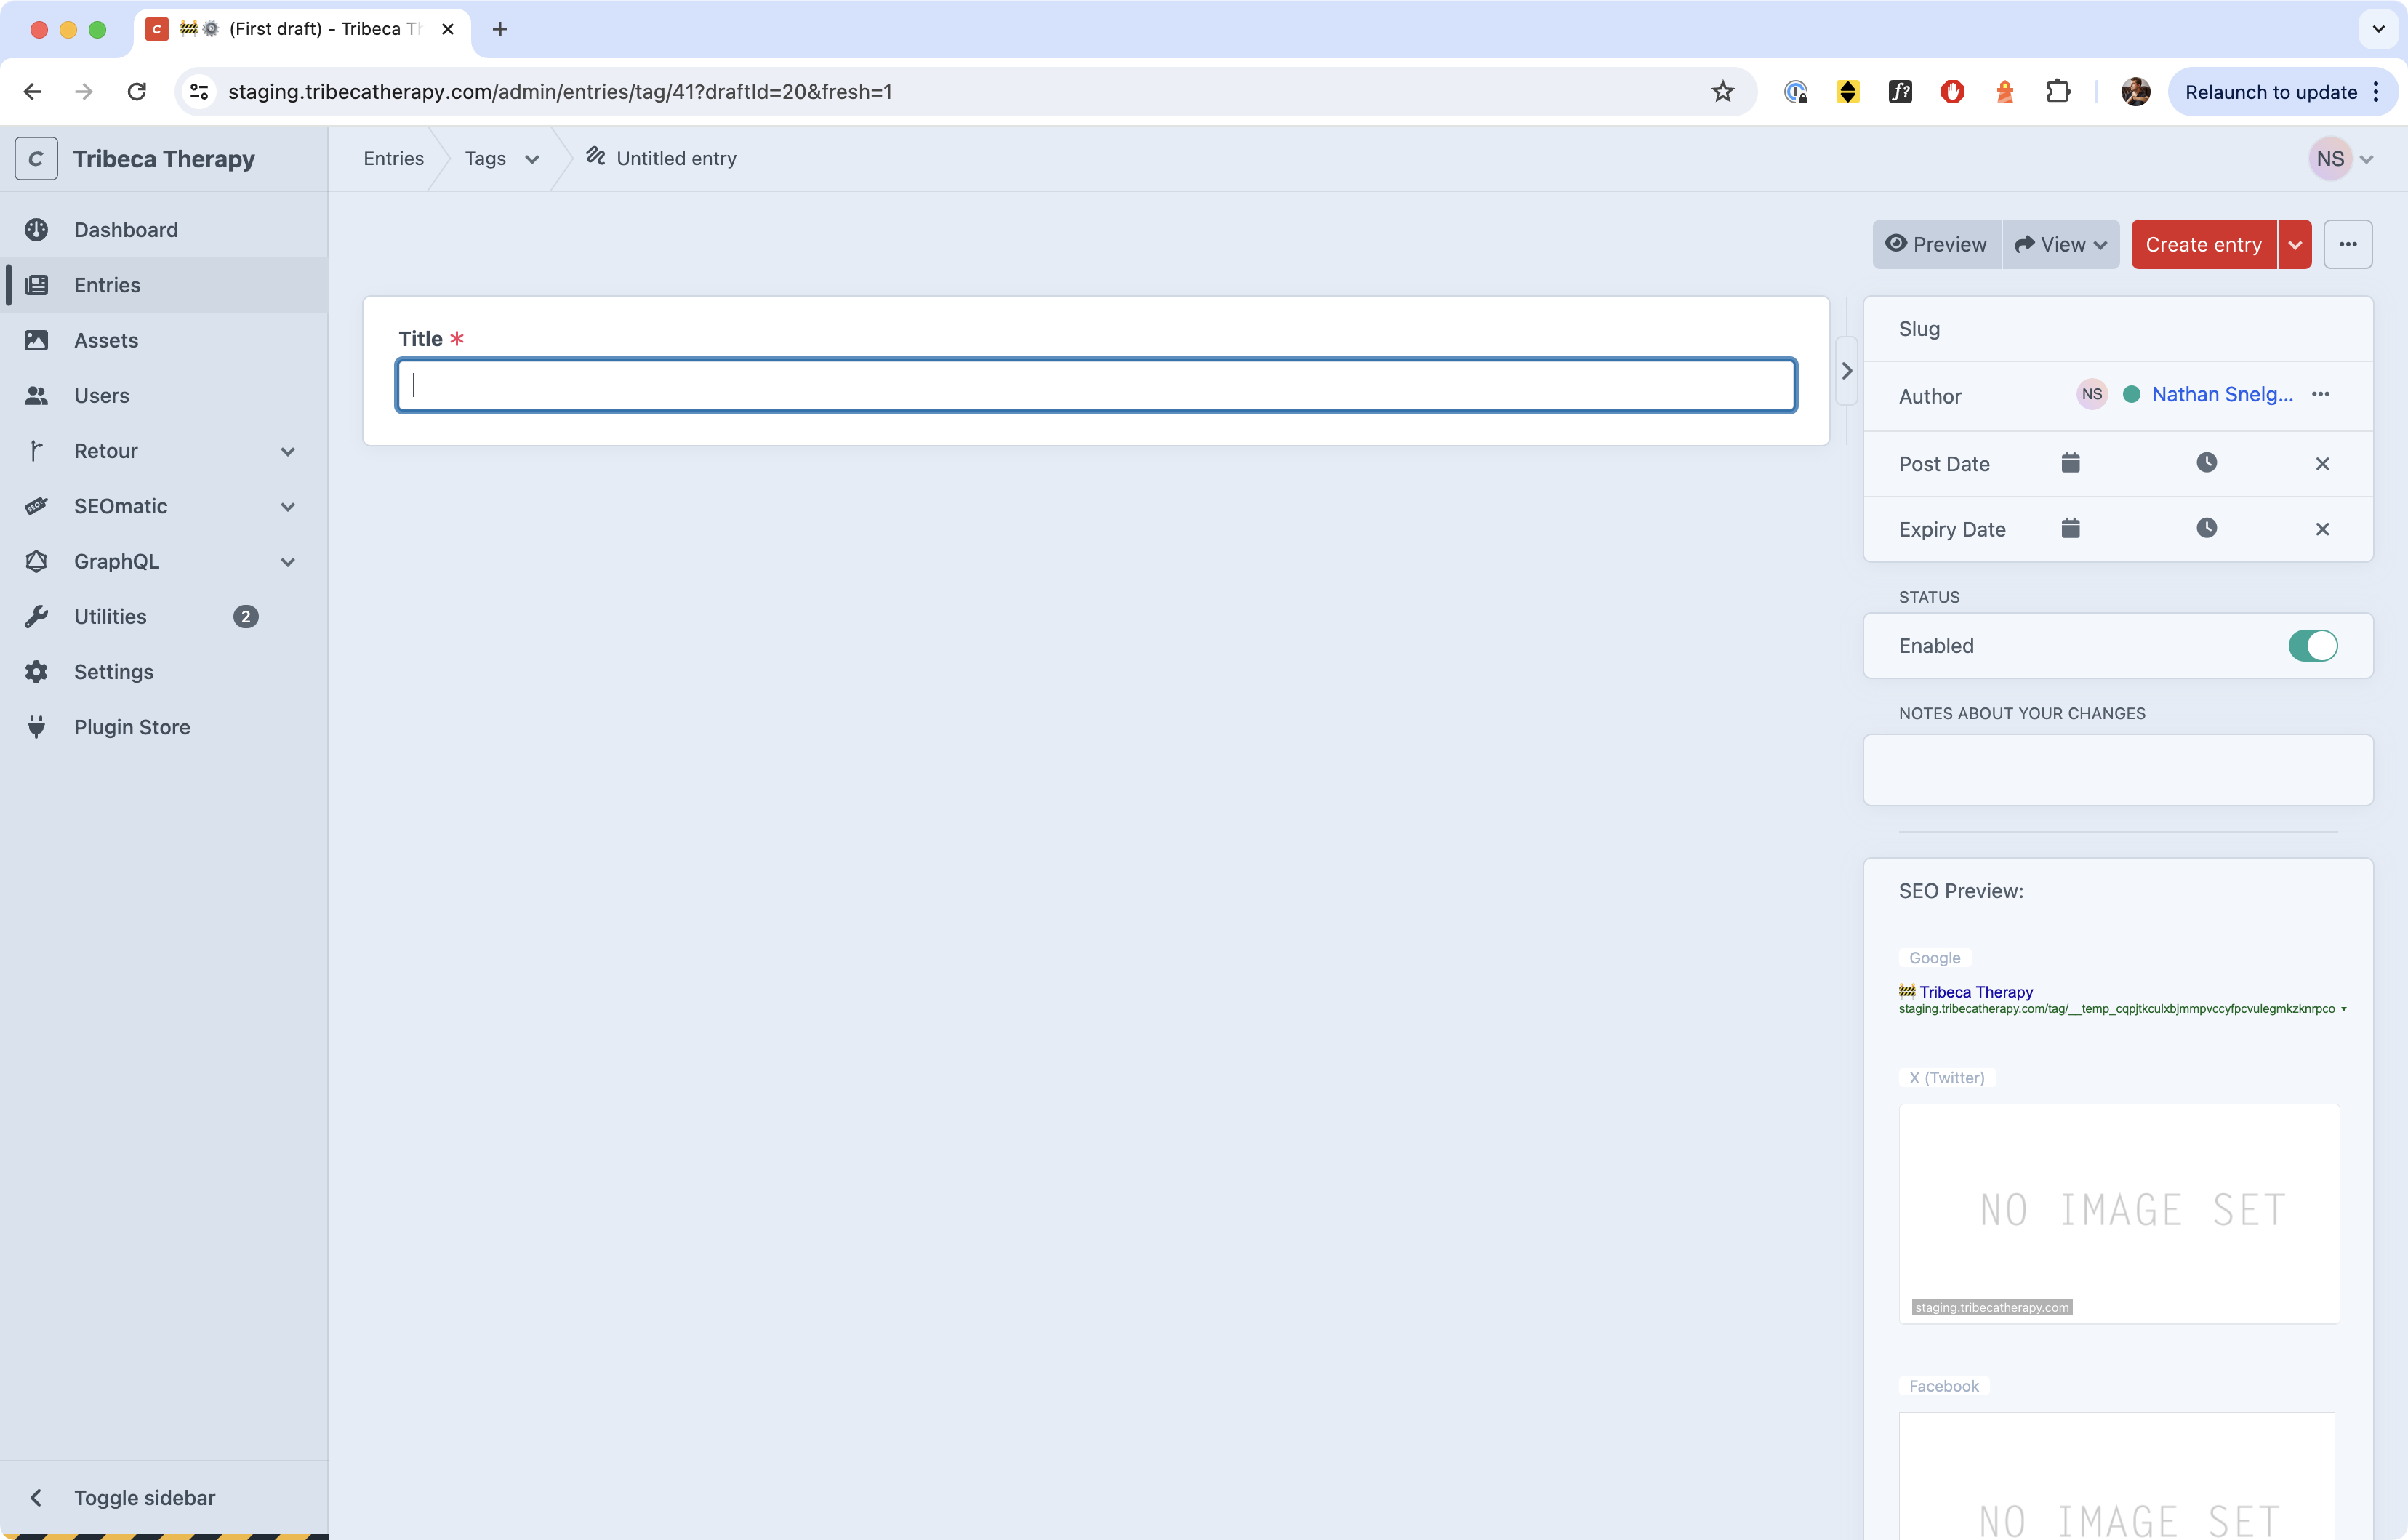
From here, creating a tag is remarkably similar to creating a post. The editing interface is almost the same, but with fewer fields. You can only add a Title and change the Slug.
When you are done, click Create Entry on the top right corner to save your work.