Adding a blog post
Adding a post to Craft CMS (or migrating a post to Craft from WordPress) couldn't be easier.
Finding blog posts
To begin with, click Entries in the left-hand navigation. You can then click on Blog Posts, below Channels, the secondary navigation (if it is not already selected). You should see the list of blog posts to the right.
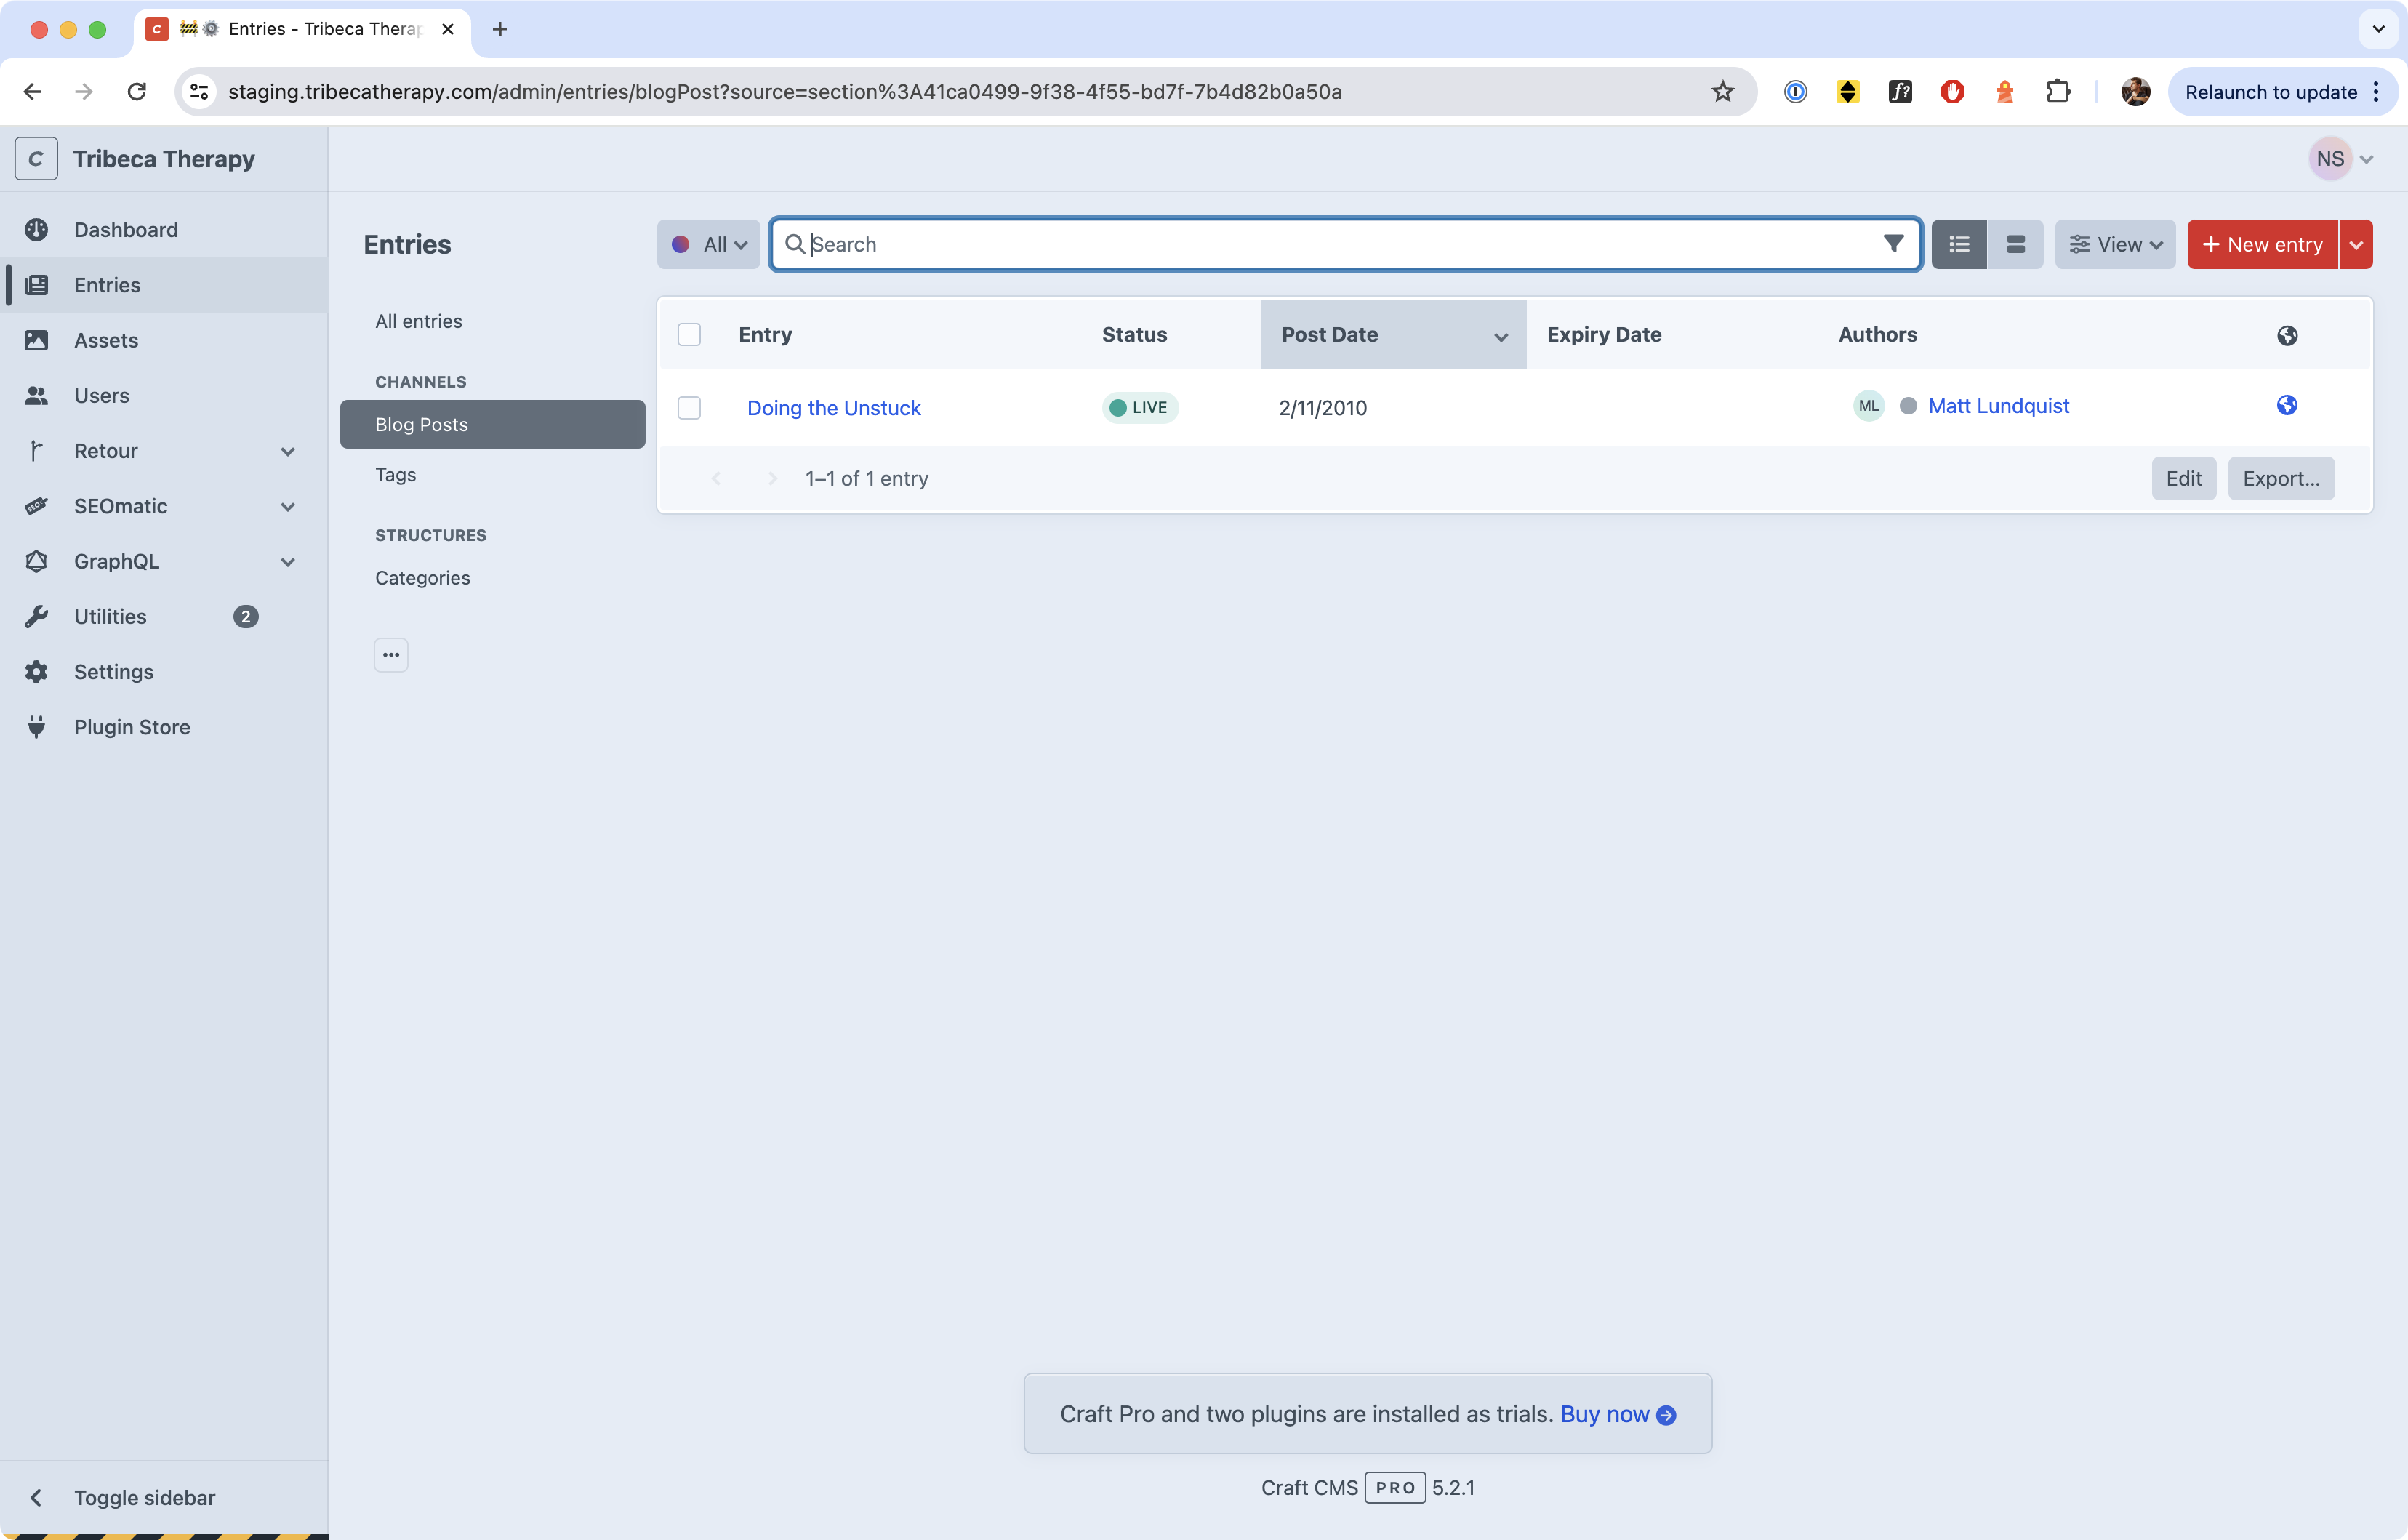
You can edit any entry simply by clicking its title, or click the red "New Entry" button to create a new blog post.
Writing a blog post
When you create a new blog post, you're able to add a title, a featured image, and content.
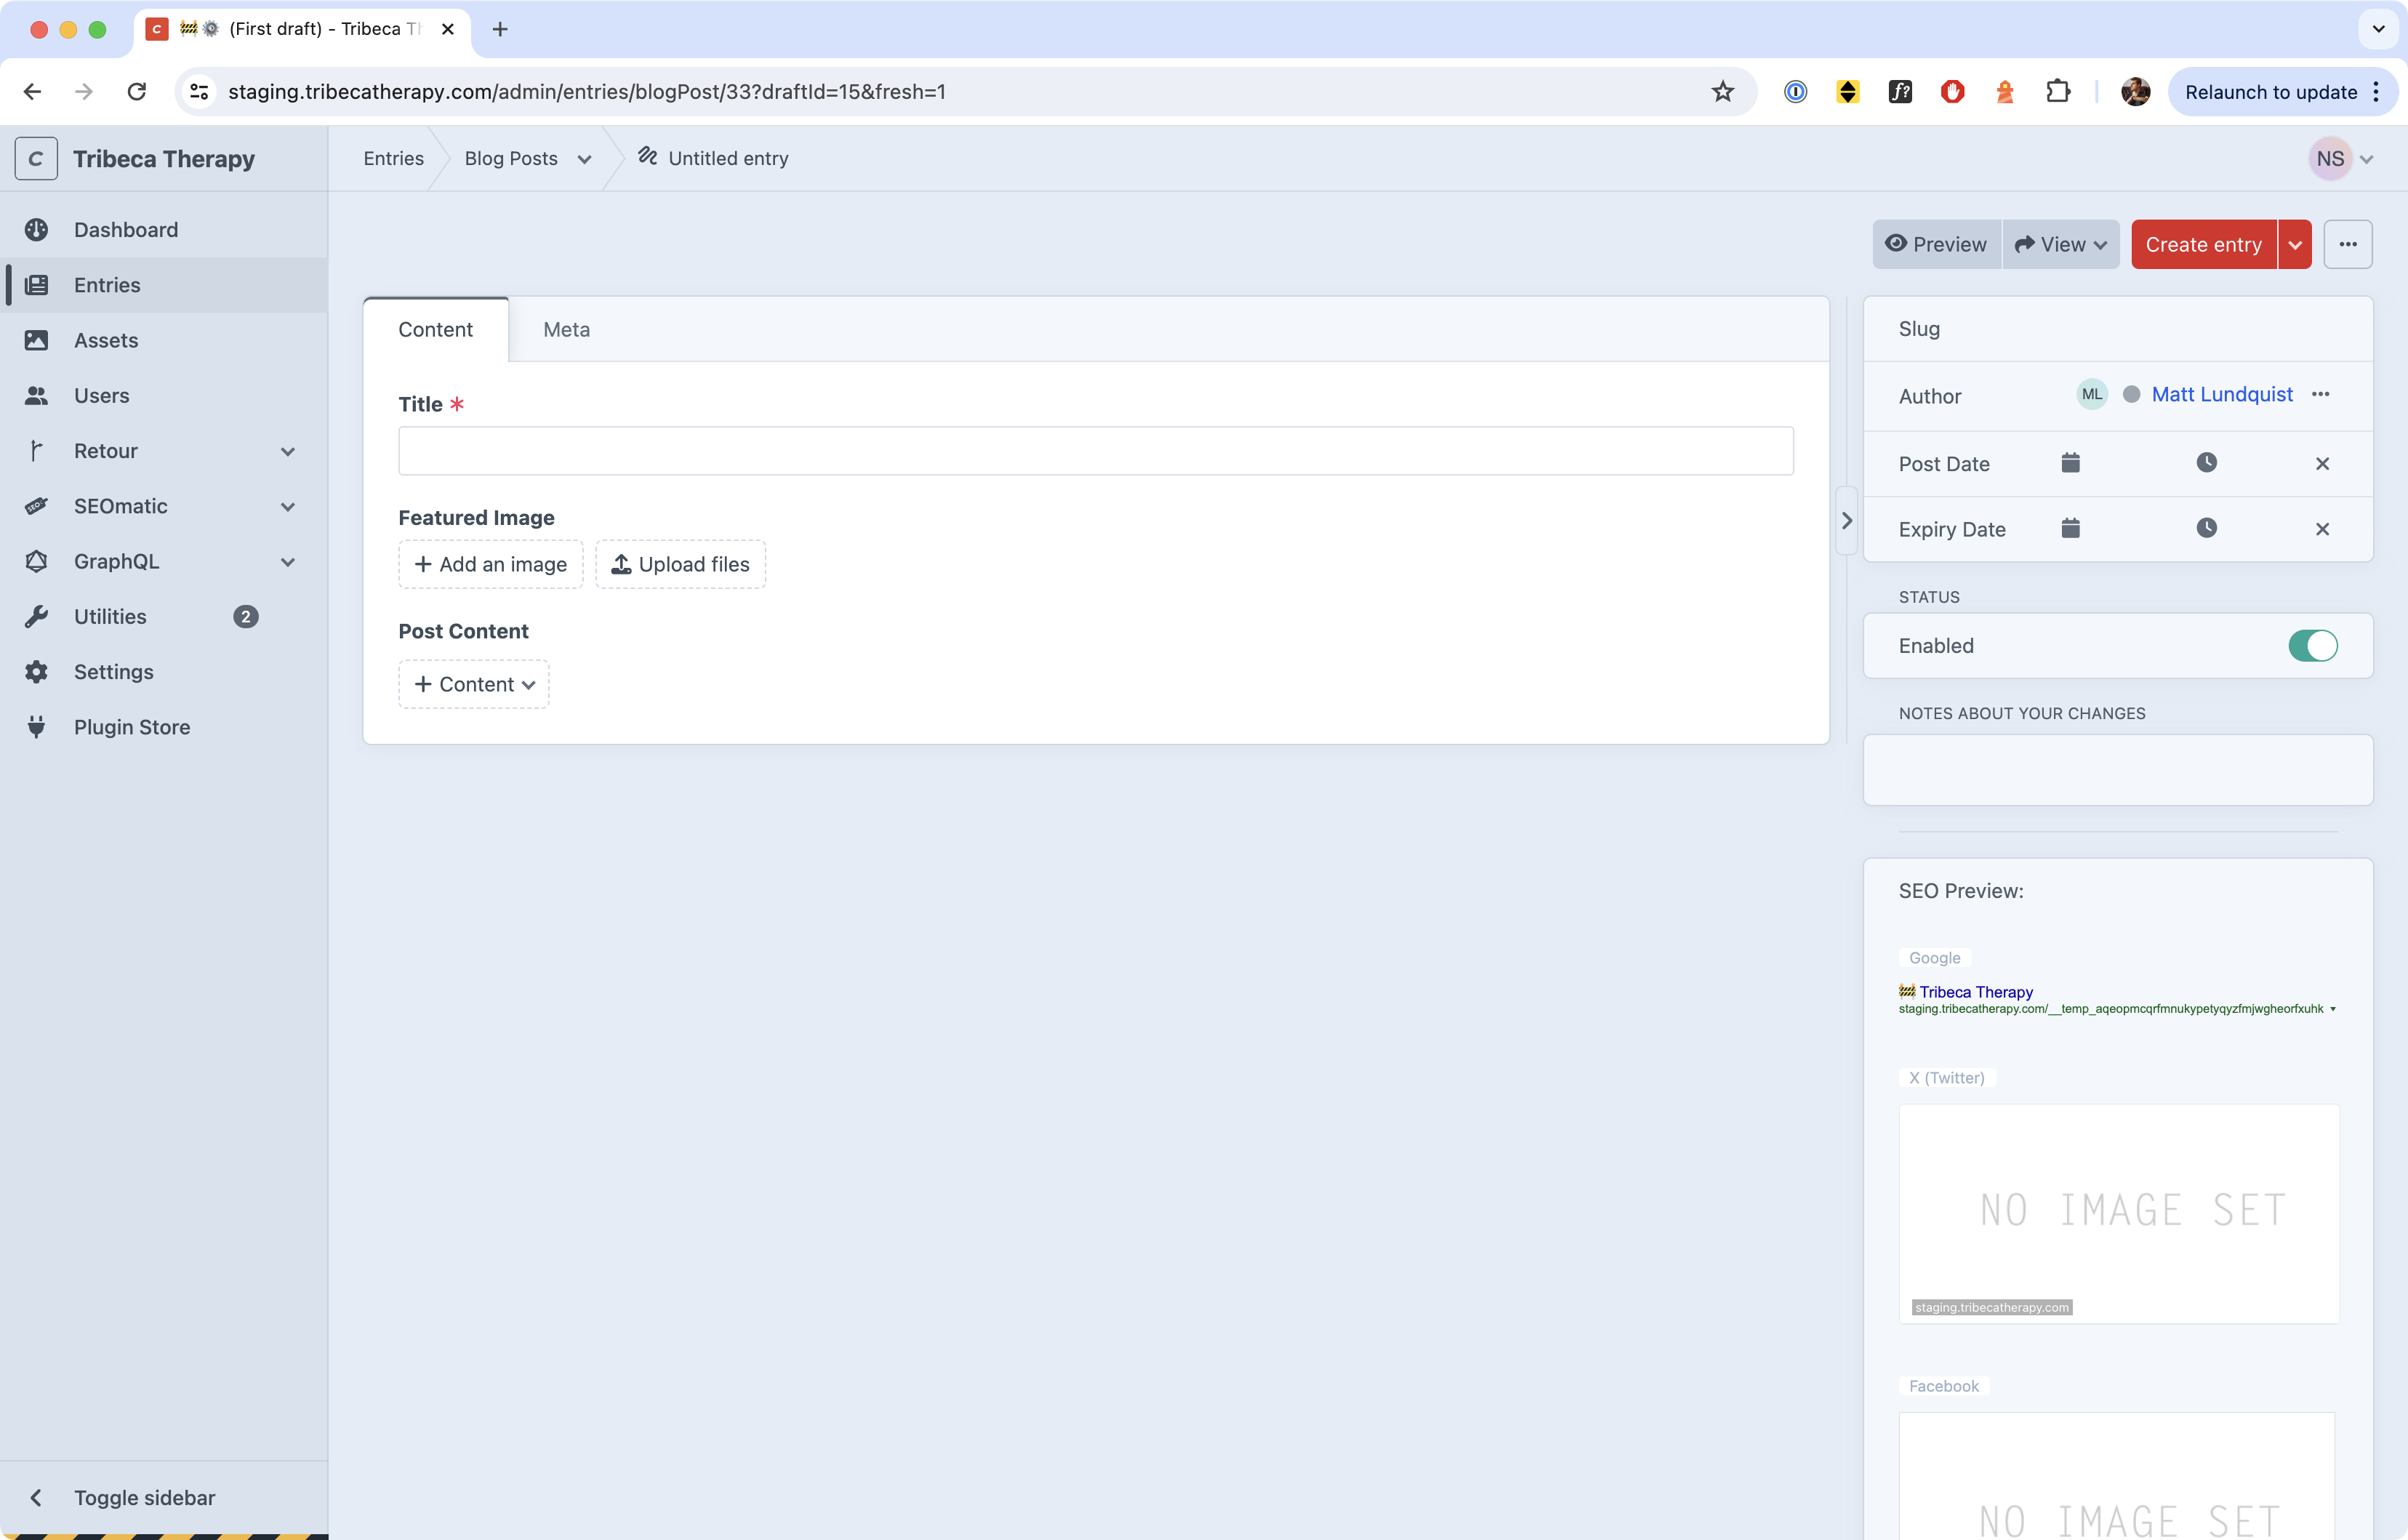
The title is self-explanatory and required.
The featured image is the "hero image" of the piece.
Note
If you are migrating content from the existing WordPress site, the Featured Image in Craft is analogous to the left-aligned image in the first paragraph of the WordPress site.
To add content, click the + Content button. This will reveal all the "blocks" of content you can add to the post. The blocks of content can be added in any order, and re-arranged after the fact by using the drag handles. (You can also click the ••• button to access additional controls, like deleting or disabling the block, or adding block types before or after the selected block).
Any blog post can include the following content types:
- Text fields. This makes up the majority of content in a blog post. You can copy and paste from WordPress and all the HTML metadata will get pasted over too, like headings, bold, italic, and links.
- Image fields. Images are probably self-explanatory, but with an important caveat related to accessibility for vision-impaired readers and for Google's SEO needs. Please see the note below.
- Audio File fields. Audio Files work just like images: you upload them to the site like an image. The only difference is, you do not need to add any accessibility text to the audio file.
- Video Embeds. You can use this field to embed a video from YouTube, Vimeo, or any other video provider that allows you to embed their videos. To embed the video, simply and copy and paste its URL. The site will take care of the rest.
You can repeatedly add any of these fields in any order. For example, if your post includes a mix of images and text, you could add a Text field, then an Image field, then another Text field. If it inlcudes a mix of images, text, and audio, you could add a Text field, then an Image field, then a Text field, then an Audio field, then another Image field. Etc.
Danger
When you add an image, you should double click on the image in the Craft interface to open up its editor. To comply with current accessibility standards, add a description of the image in the Alt Text field.
Alt text should be easy to read and only as detailed as it needs to be. Here's an example: "A couple walk hand in hand along the beach. The sun is setting. Their shadows are long."
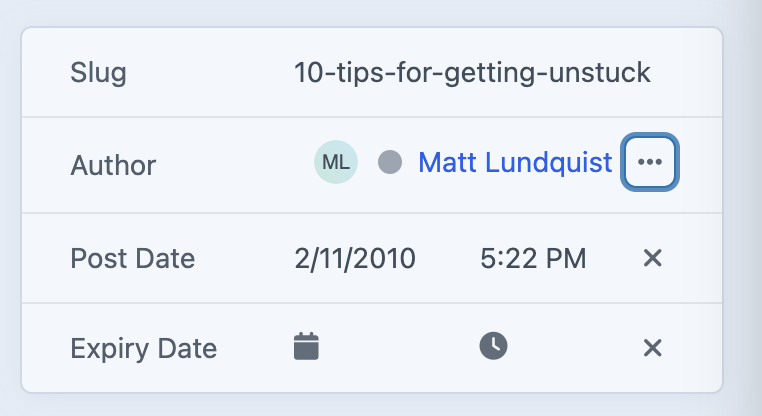
Changing the post author
You can change the post author to somebody other than yourself. To do so, click the ellipsis beside the post author located on the right below the Slug, click X Remove, and then click the + Choose button.
You can choose any author that has been created on the site. If your author is not available on the site, you can add an author. See Adding Authors.
Changing the post date
In the same place you changed the post author, you can change the post date just below it. Simply click on the date and time to make your adjustments. You can type in a date exactly if it is faster than using the date picker.
If you are migrating a post from WordPress, you should make sure the WordPress post and the Craft post have the same publishing date.
Note
You might have noticed the Expiry Date field. You will not need to use this on blog posts. This field "expires" content on a certain date, so it is invisile to site visitors (and search engines), but accessible for site editors (like you). It's meant for events and time-sensitive marketing pages, not for blog posts.
Adding categories, tags, and other meta information
To add categories or tags to the post, scroll up to the top of the content editor and click the Meta tab.
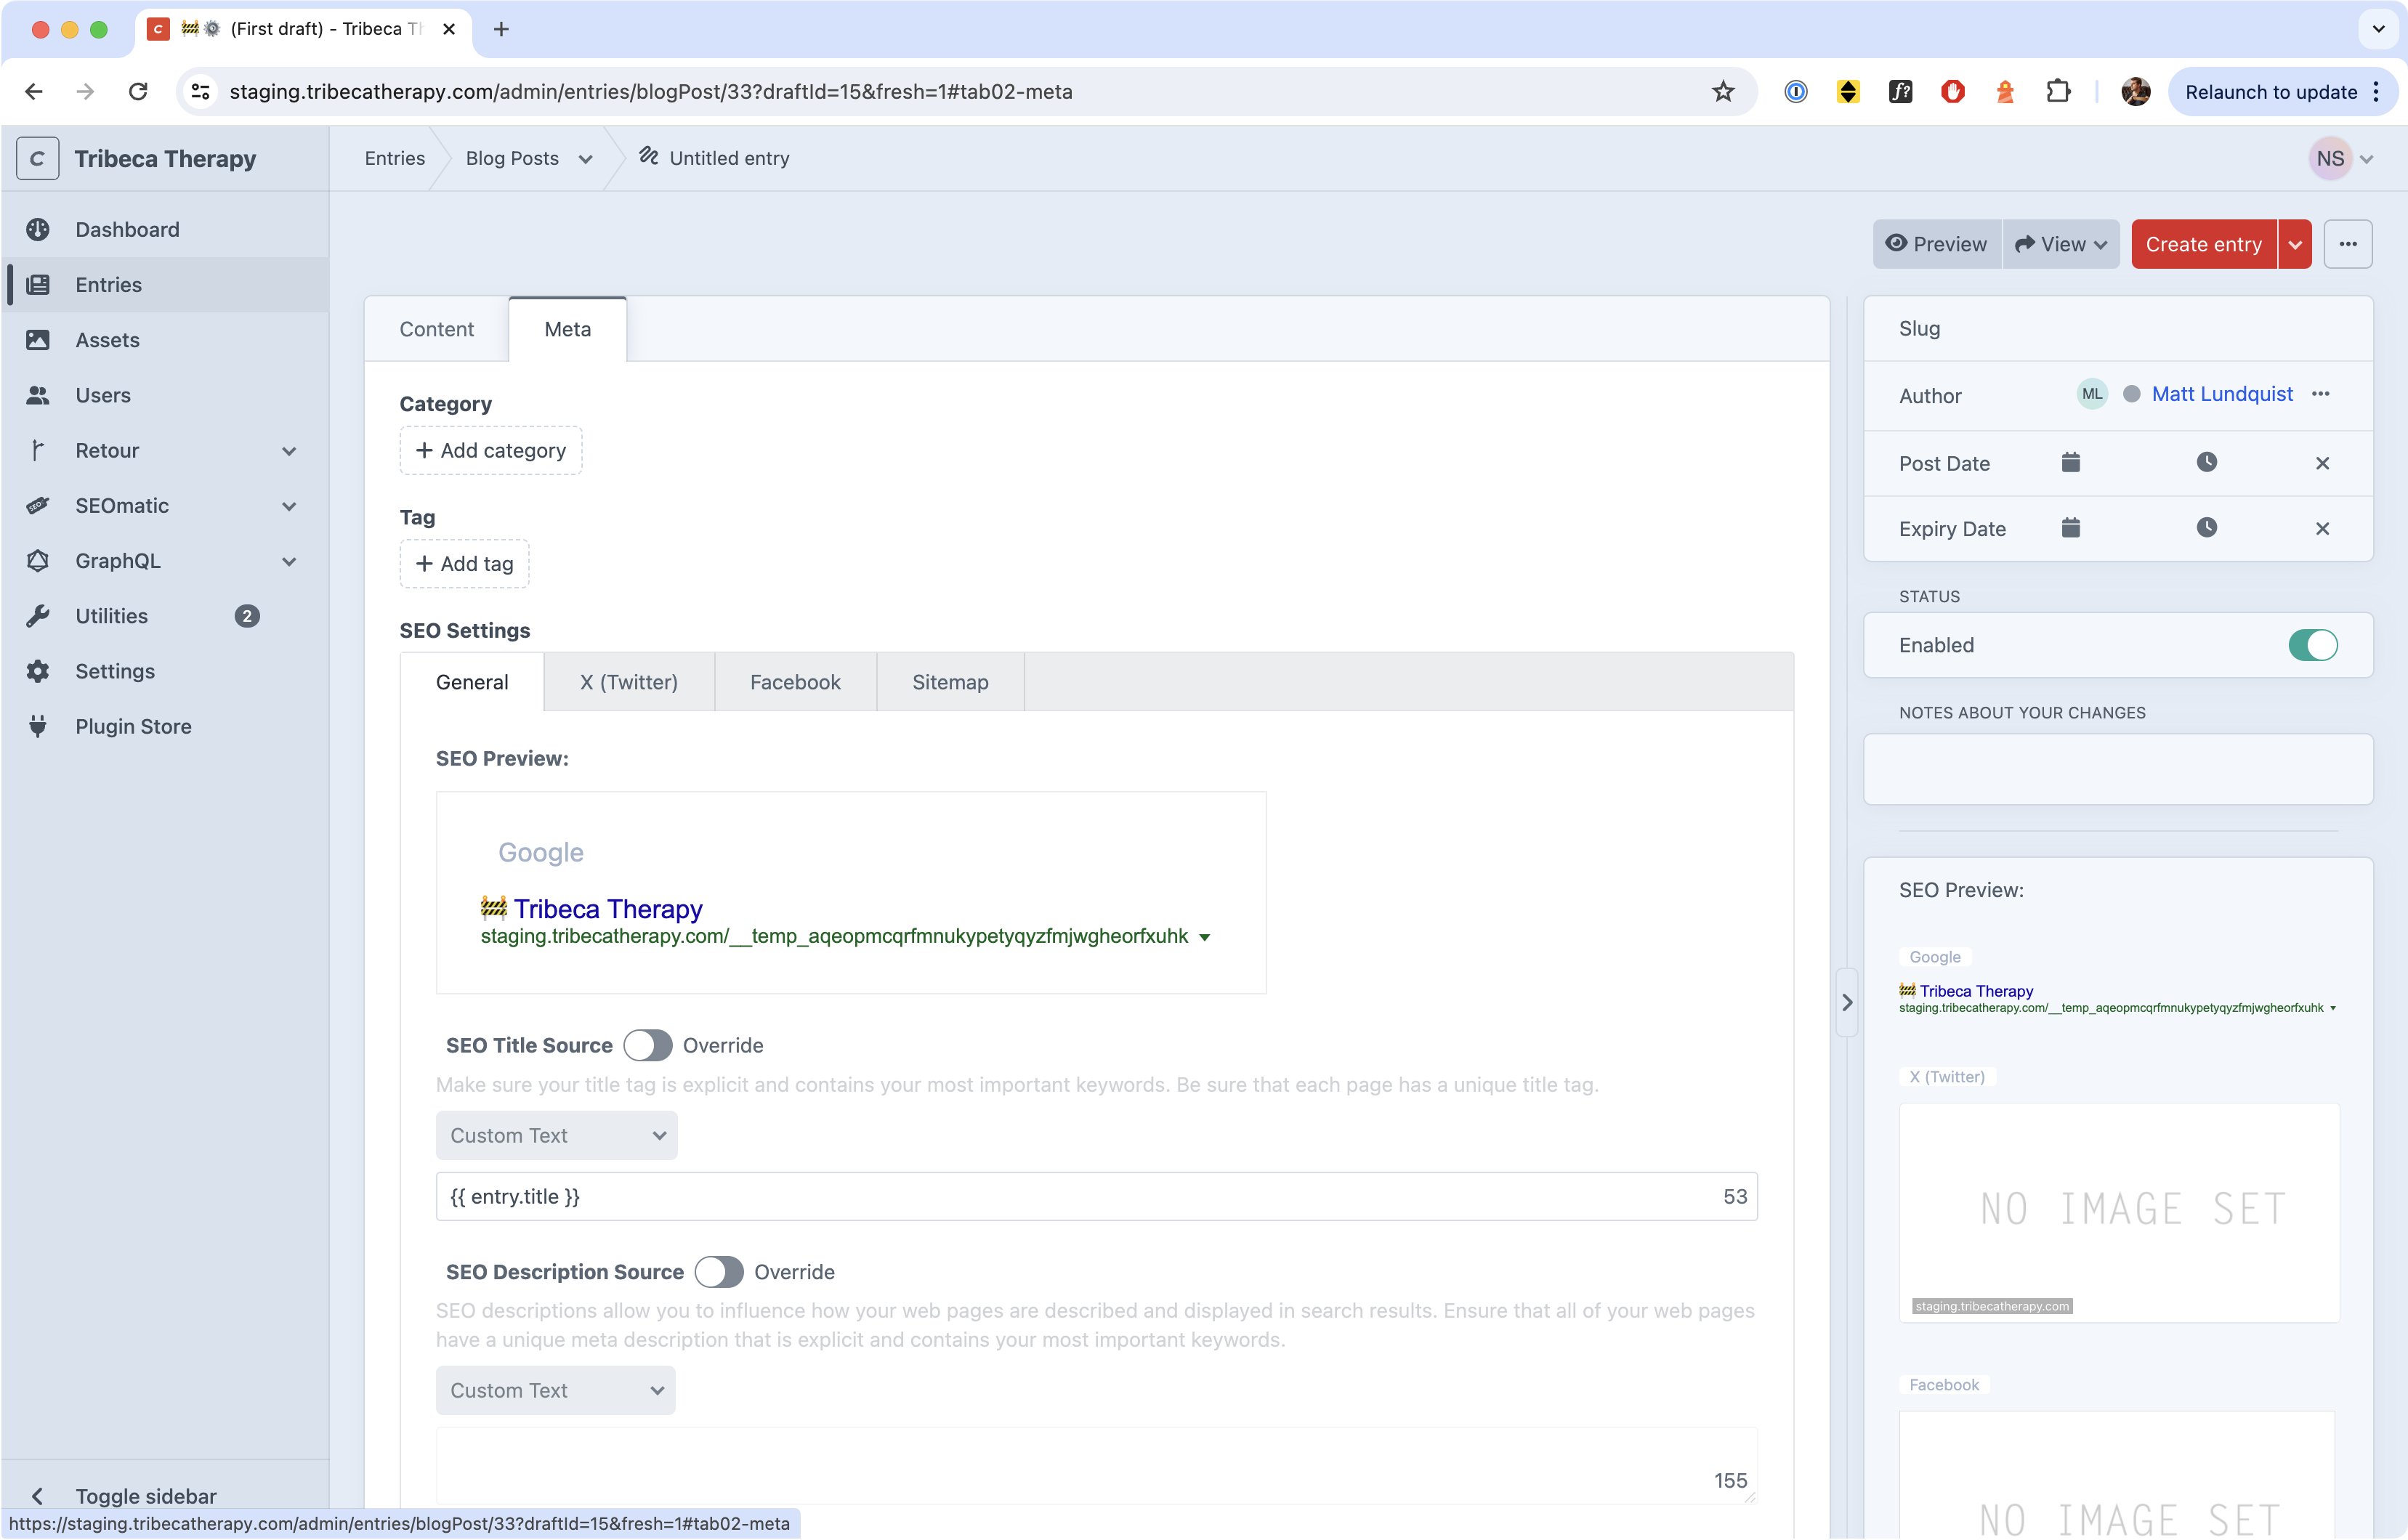
You can click on the + Category or + Tag buttons to add new categories or tags from an existing list. When you click on + Category or + Tag, if the category or tag you need is not available, follow the tips in Adding Categories and Tags.
Warning
When migrating content from the WordPress site, you should add the same categories and tags to the Craft post that were in the WordPress version of the post.
Changing the post URL
The post URL is where the blog post lives on the website. For example, if the URL reads https://tribecatherapy.com/blog-post-example, the URL is blog-post-example.
To change the URL, you simply update the Slug on the right hand side of the post. The slug in Craft CMS should match the WordPress URL you are migrating.. You do not need to include the https://tribecatherapy.com/ in your Slug.
Matching slugs
When you migrate a post from WordPress to Craft CMS, make sure they share the same slug. If the slug is depression-in-kids on WordPress, make sure the Craft CMS slug is also depression-in-kids. This helps avoid losing SEO ranking while we migrate the website.
How to migrate a blog post from WordPress to Craft CMS
To migrate a post from WordPress to Craft CMS, follow these steps:
- Create a new Blog Post entry in Craft CMS, as per the above.
- Copy and paste the title of the post from WordPress.
- Upload the first image in the WordPress post, if there is one, as the Featured Image in Craft.
- Copy the body text of the post in WordPress. Create a new Text block in the Post Content field in Craft. Paste the text. WordPress text can be directly pasted into Craft. Just make sure you don't copy and paste any images alongw with it; those images will not survive the site transition.
- Make sure the slug in Craft matches the slug in WordPress..
- Make sure the post date in Craft matches the post date in WordPress
- Make sure the post author in Craft matches the post author in WordPress.
- Add the Tags and Categories from the WordPress post to the Craft post in the Meta tab. (See Adding Categories and Tags if you need to add a new one.)